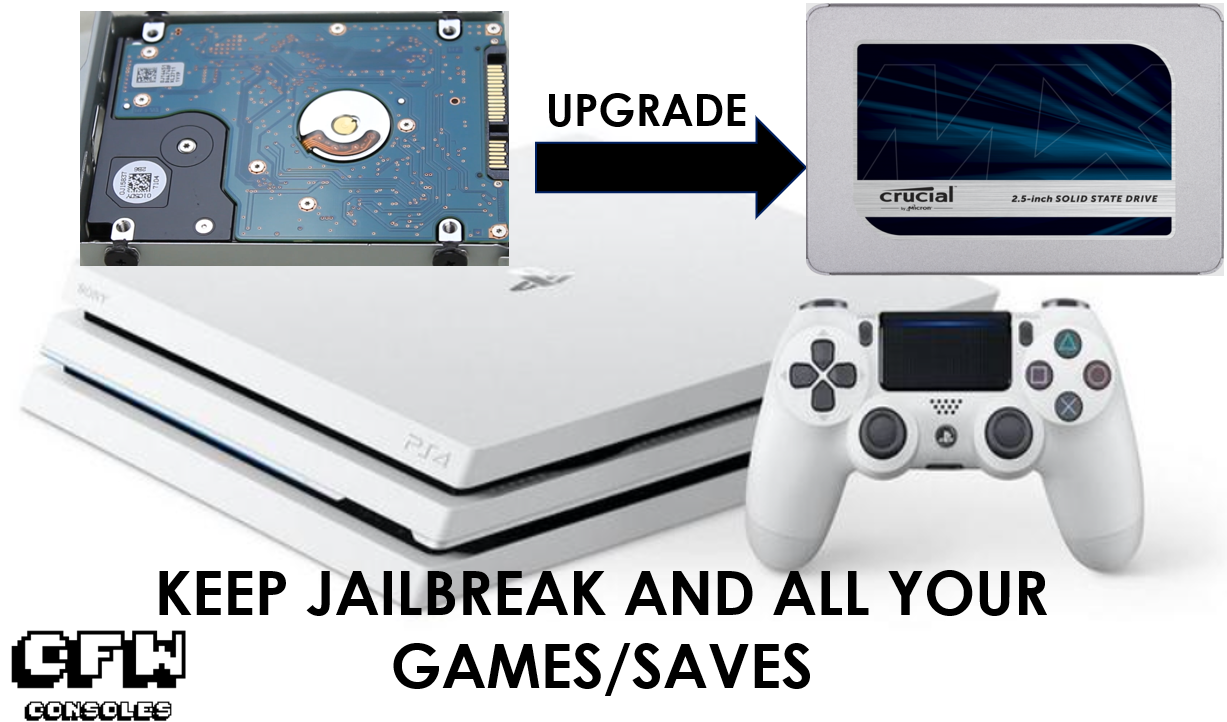
This guide will allow PS4 users to upgrade the internal hard drive to a larger hard drive or SSD without losing their jailbreak, games, themes, or saves.
Files and Hardware Needed:
1) Recovery Firmware: https://sce.party/ps4/firmwares (Under Recovery) 2) Hard Drive or Solid State Drive (SSD) 3) External USB or Hard Drive
Step 1: Format External Storage
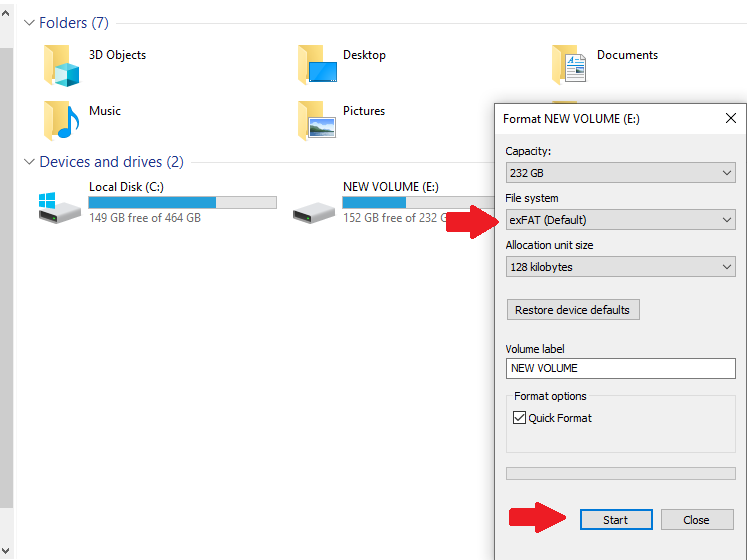
Format the external hard drive or USB drive to exFat and plug it into the USB slot of the PS4.
Step 2: Verify Storage Space
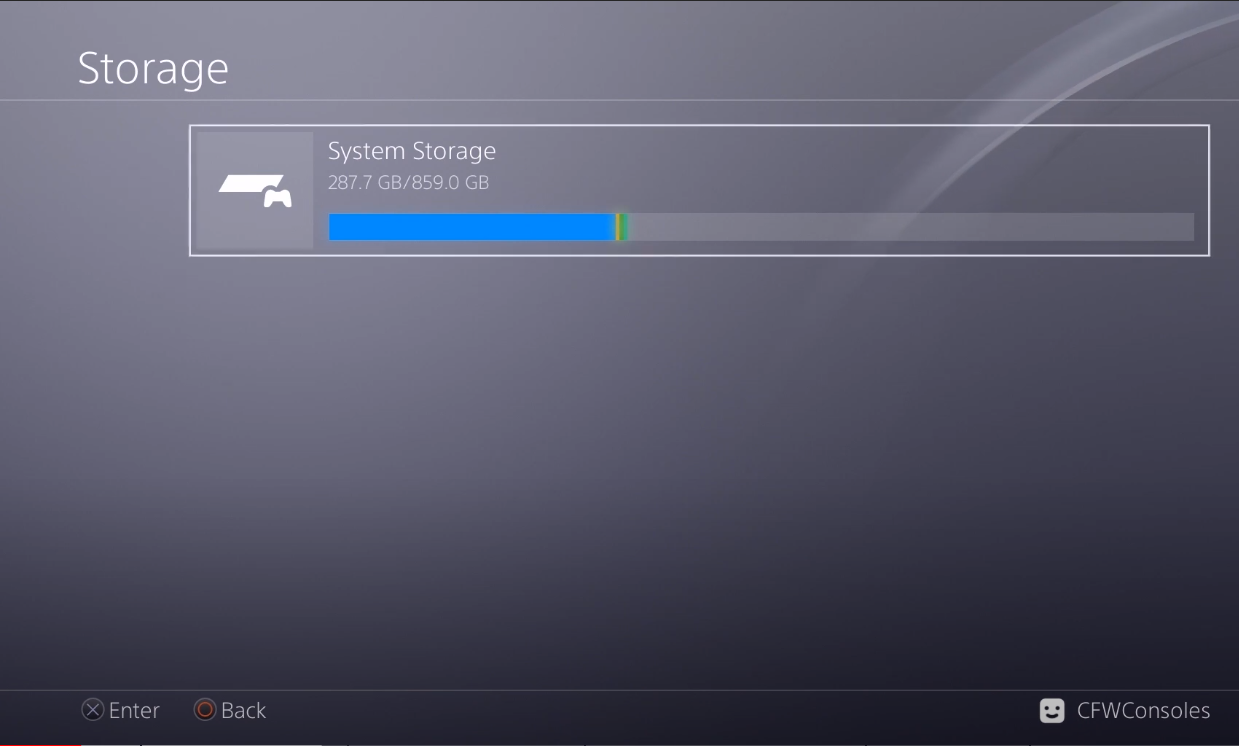
On the PS4, go to Settings/Storage.
Verify that the external storage is big enough to hold the PS4 contents that are going to be transferred,
If you don’t have enough storage, you will need to delete some games.
Deleting games does not remove the save files.
Step 3: Back up PS4 Data
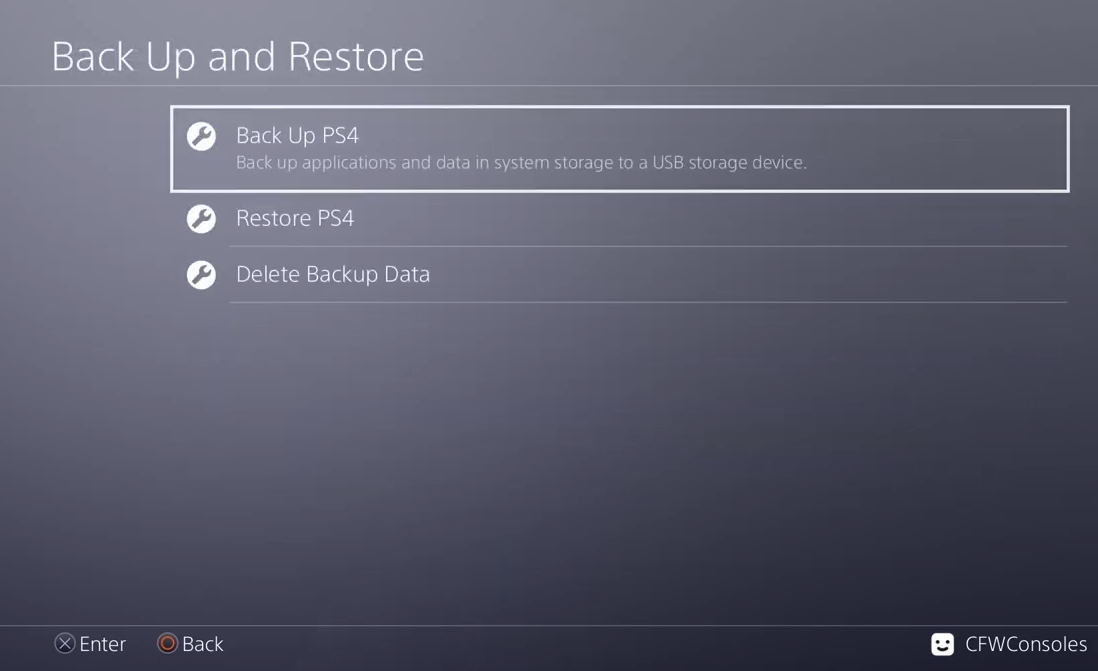
Go back to Settings / System / Back up and Restore.
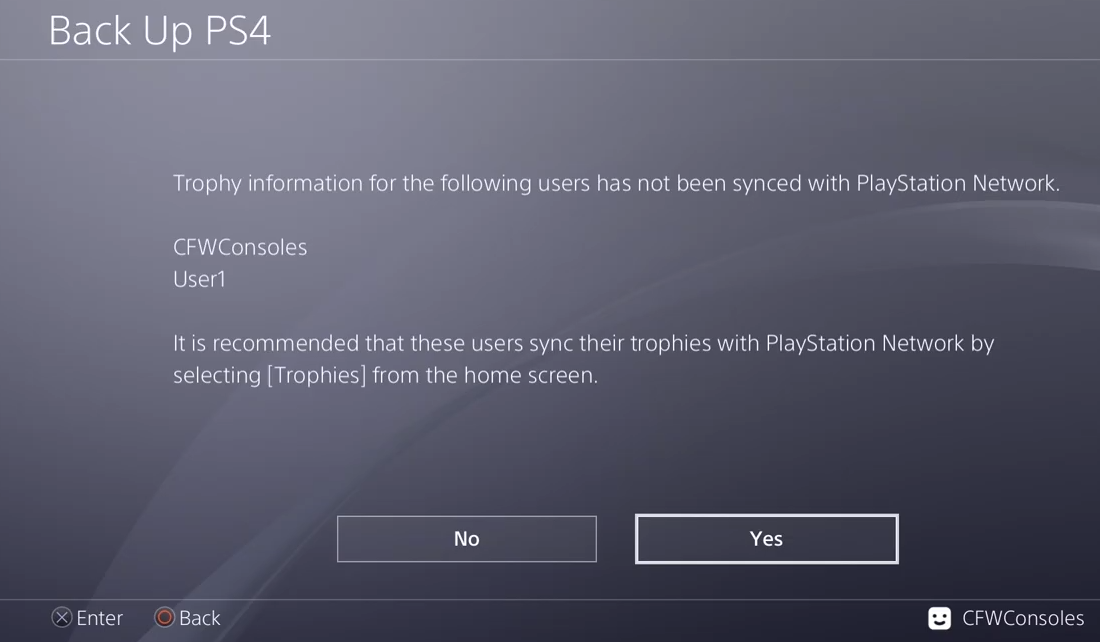
Press Yes (it reminds you to sync your trophies to your PSN but that’s not possible on a jailbroken PS4).
Press Yes again (another reminder about how the saved data is tied to your PlayStation, so you can’t use it on another PS4.)
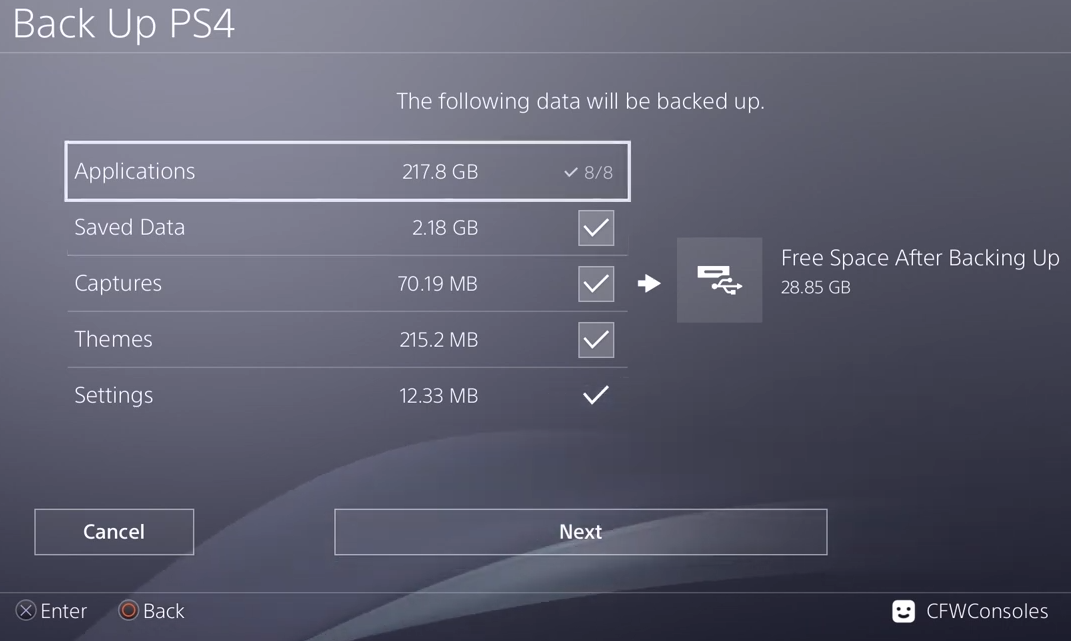
Uncheck any contents you do not want to back up and then press Back up.
Applications are the games installed on the PS4.
The PS4 will create a backup folder on the external storage and then restart.
Step 4: Wait for PS4 to Transfer Data
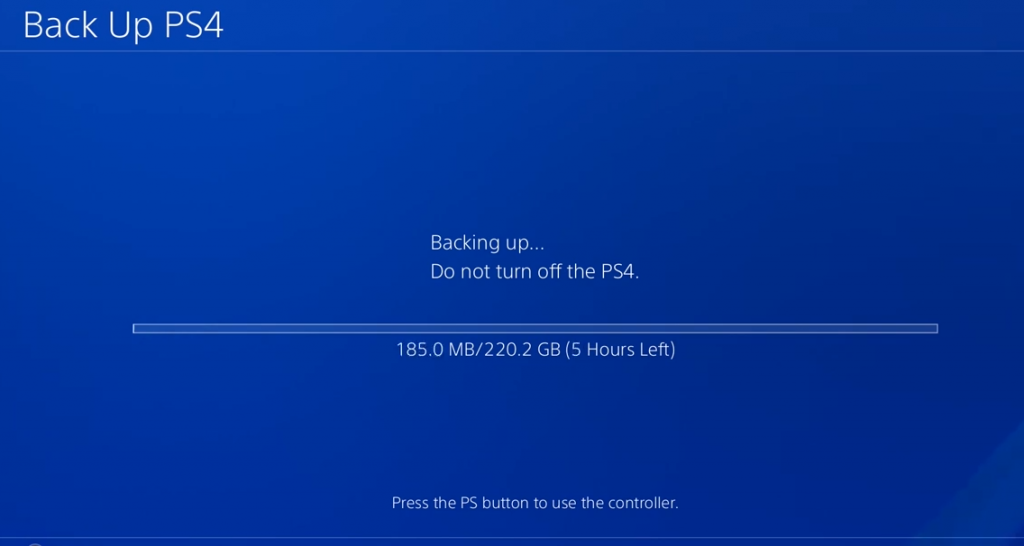
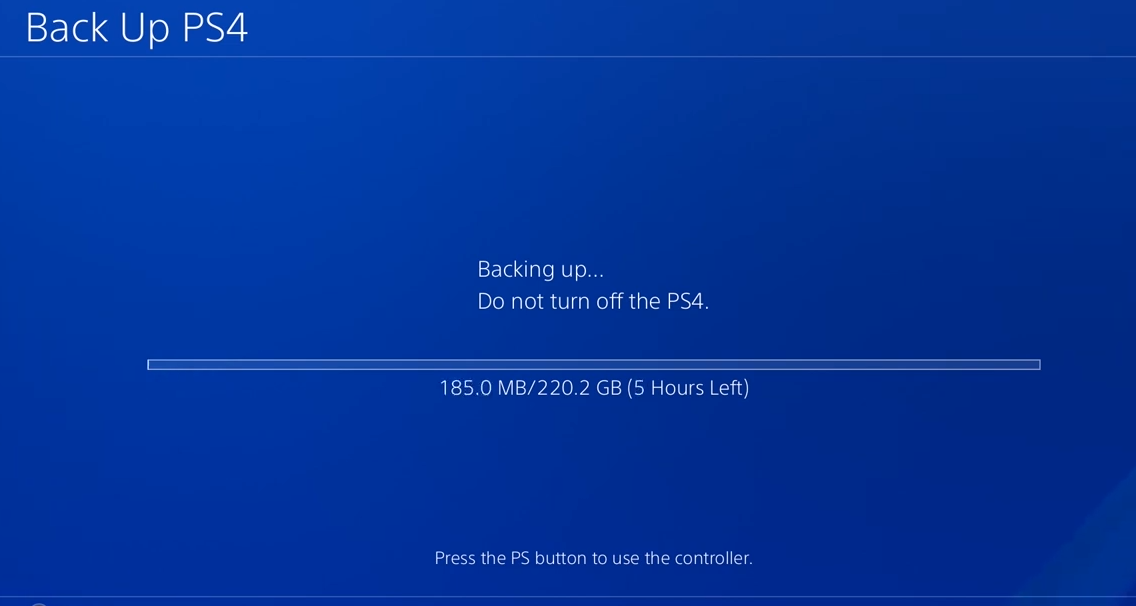
The PS4 is now transferring the backup data to the USB drive or external hard drive.
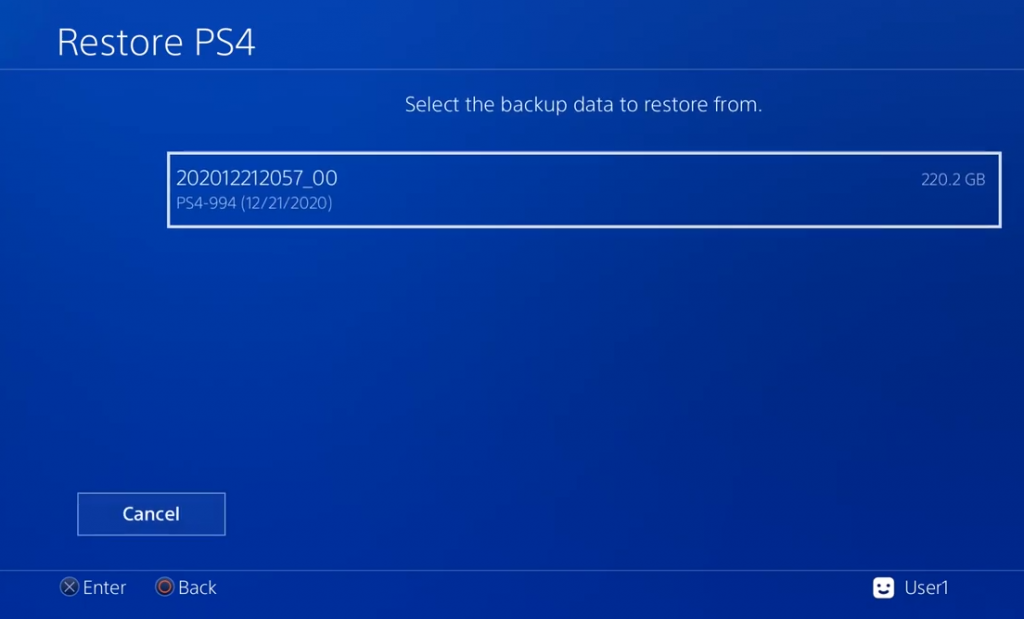
Note: For me, 220 GB of data took 5 hours to transfer. If you are transferring anywhere close to 1 TB or more it could take the whole day!
Once the transfer is done, turn off the PS4 and remove the external storage.
Step 5: Download Recovery Firmware
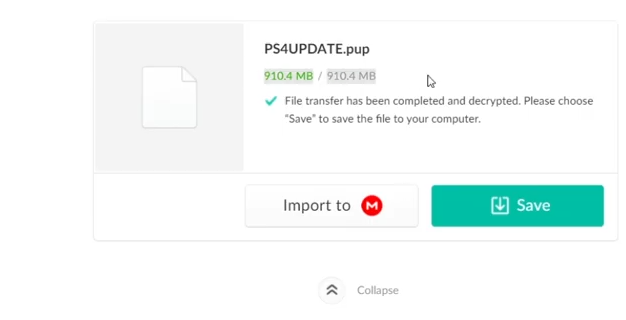
Go to https://sce.party/ps4/firmwares, click on Recovery, and download the firmware your PS4 is on.
The available options are 5.05, 6.72, or 7.02.
Make sure it is a recovery firmware, it should be close to 1 GB in size.
Once the download is complete save it on your computer.
Then plug in the USB Drive/external hard drive.
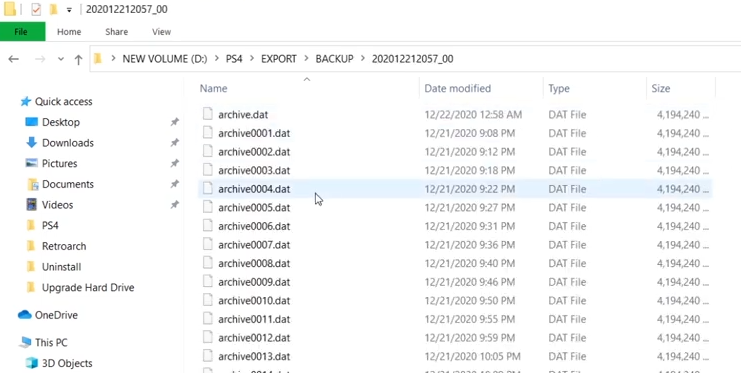
You will now have a folder called PS4, and this contains the games, saved data, themes, and whatever else you saved.
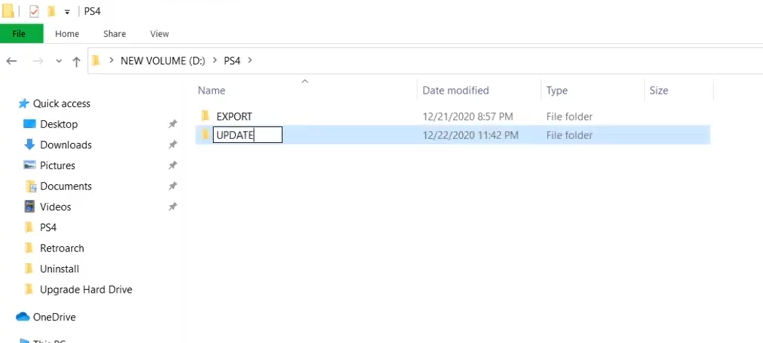
So inside the ps4 folder, create a new folder called “UPDATE” all CAPS under the Export Folder.
Then put the PS4 recovery file you just downloaded into the UPDATE folder.
Do not rename this file it should say “PS4UPDATE.PUP” otherwise the PS4 won’t detect this file.
Once done, eject the external drive and start unplugging your PS4.
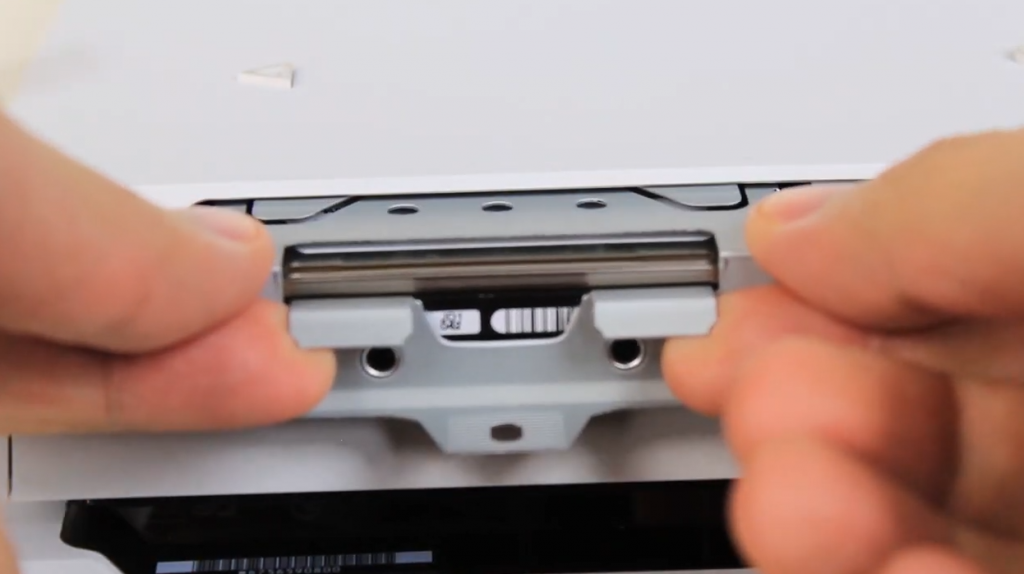
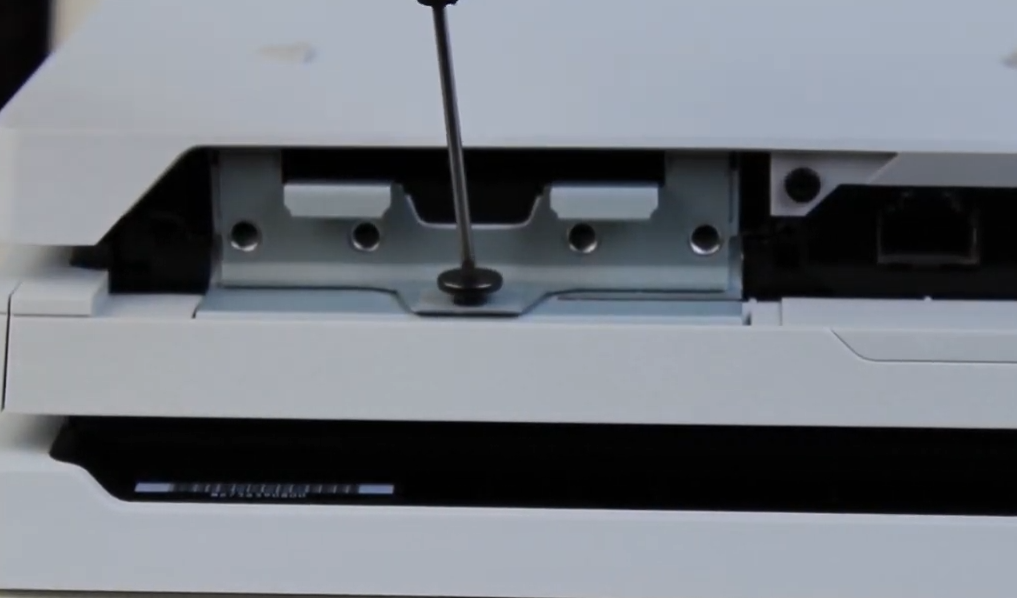
Step 6: Remove Old Hard Drive
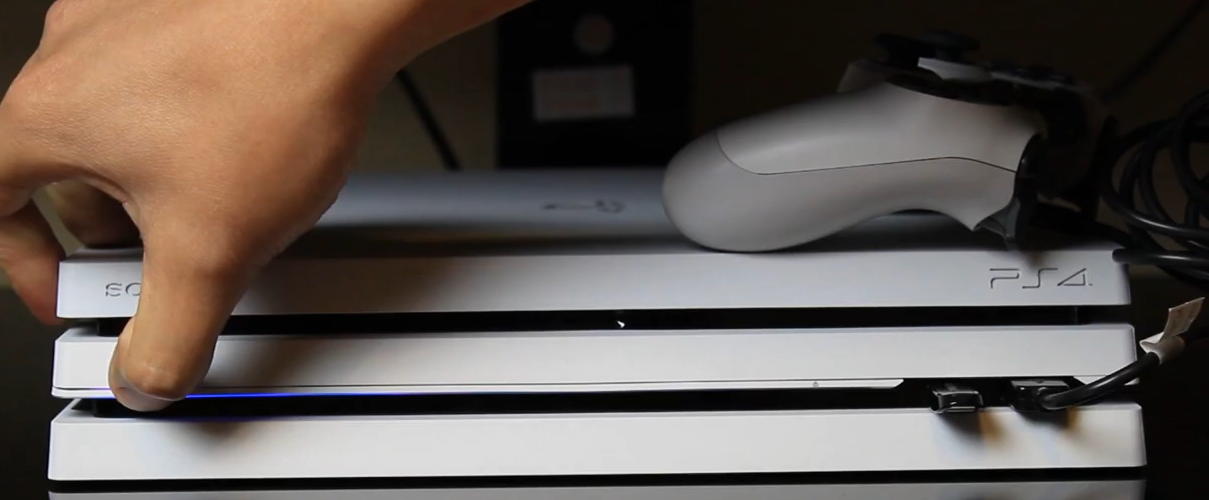
The hard drive is located at the back of the PS4 Pro.
Refer to the official Sony Playstation site for information on where the hard drive is on other PS4 here.
Remove the cover protecting the hard drive.
Remove the PlayStation screw holding down the hard drive.
Pull out the hard drive enclosure.
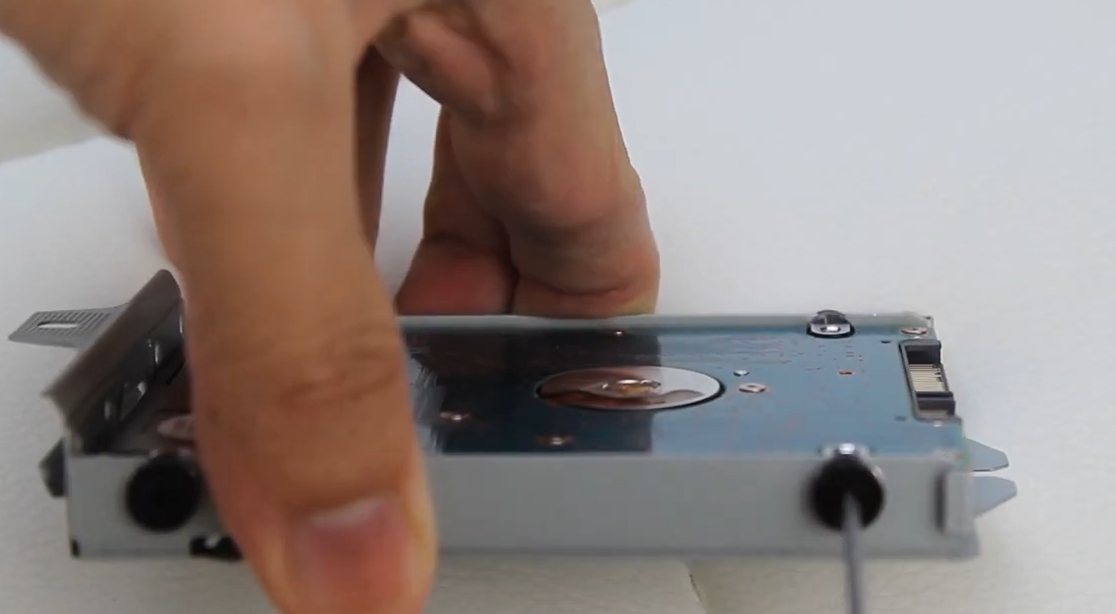
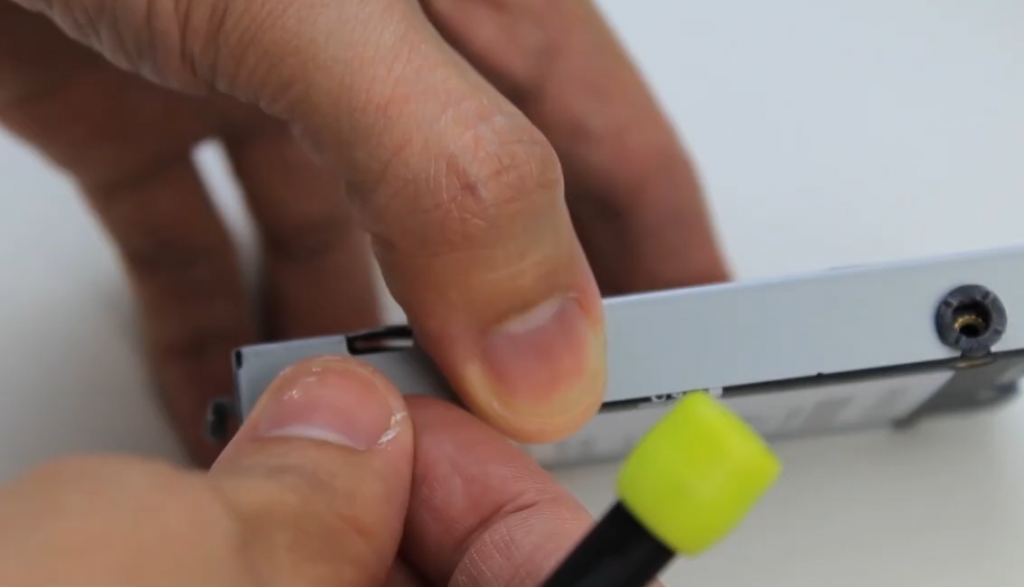
Use a screwdriver to remove the 4 screws on the sides of the hard drive.
Step 7: Install New Hard Drive/SSD
Unbox and open the new hard drive or SSD.
Put the new drive in the encasement holding the old hard drive.
Don’t worry if the new hard drive doesn’t touch the button of the case like the old PS4 harddrive. The screws will keep it in place.
Put the new drive back in the PS4
Screw in the PlayStation screw, put back in the cover.
Plug in the PS4.
Plug in the external storage, attached the PS4 controller to a usb cord, and attached that to the PS4.
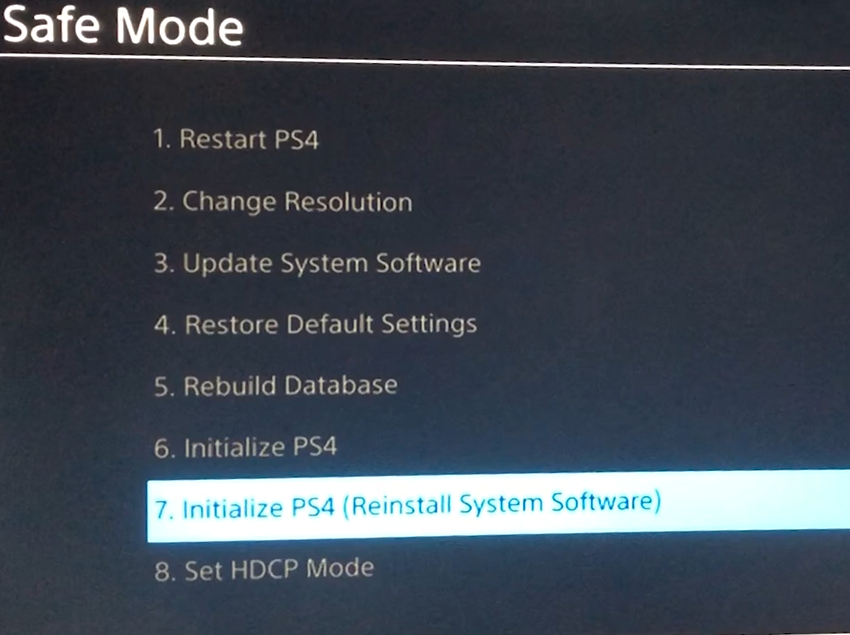
Step 8: Boot PS4 in Safe Mode
To boot the PS4 in safe mode, hold the power button for 7 seconds.
You will hear 1 beep and then a second beep 7 seconds later.
In safemode, Press X on #7 initialize PS4.
This should be the only available option.
It will say connect a controller through USB press OK.
Then it will ask to connect a USB Device, press OK again.
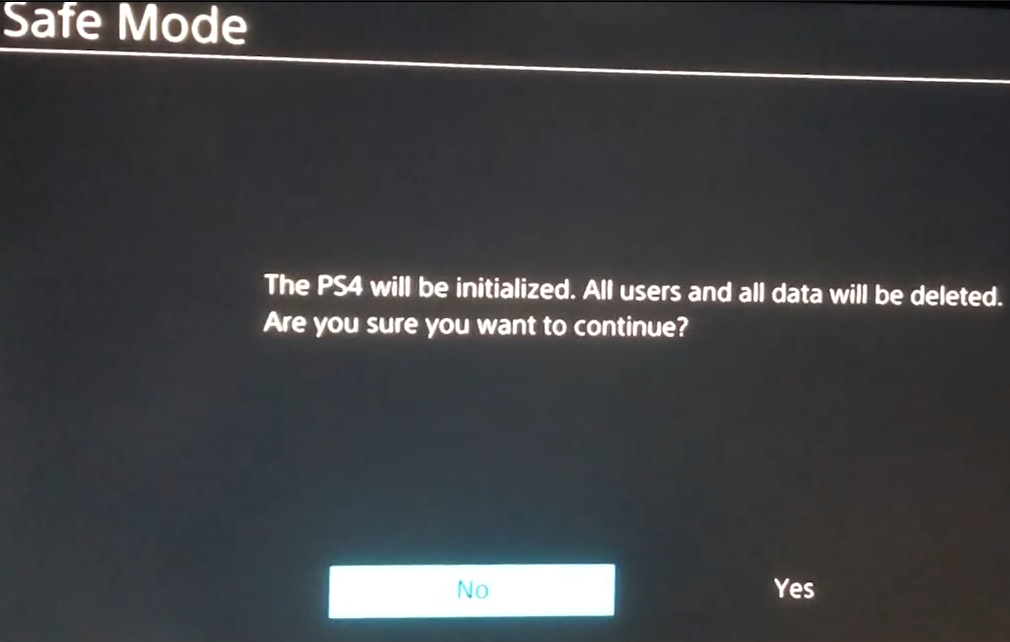
Step 9: Install Recovery Firmware
Press YES to initialize the PS4.
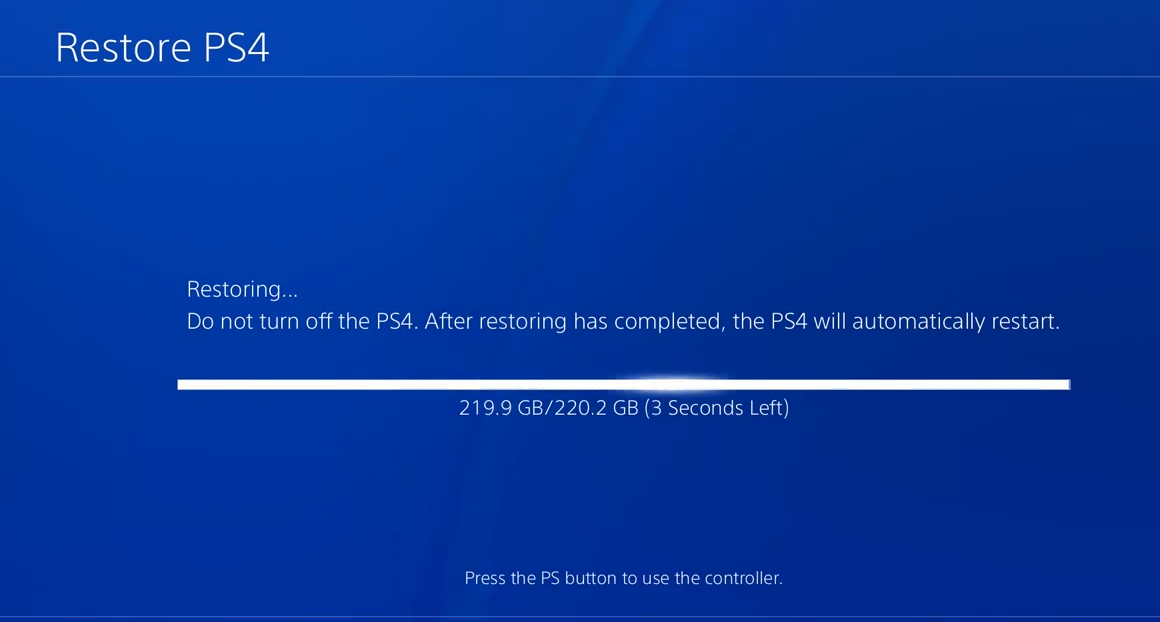
Wait for the PS4 to install the recovery firmware.
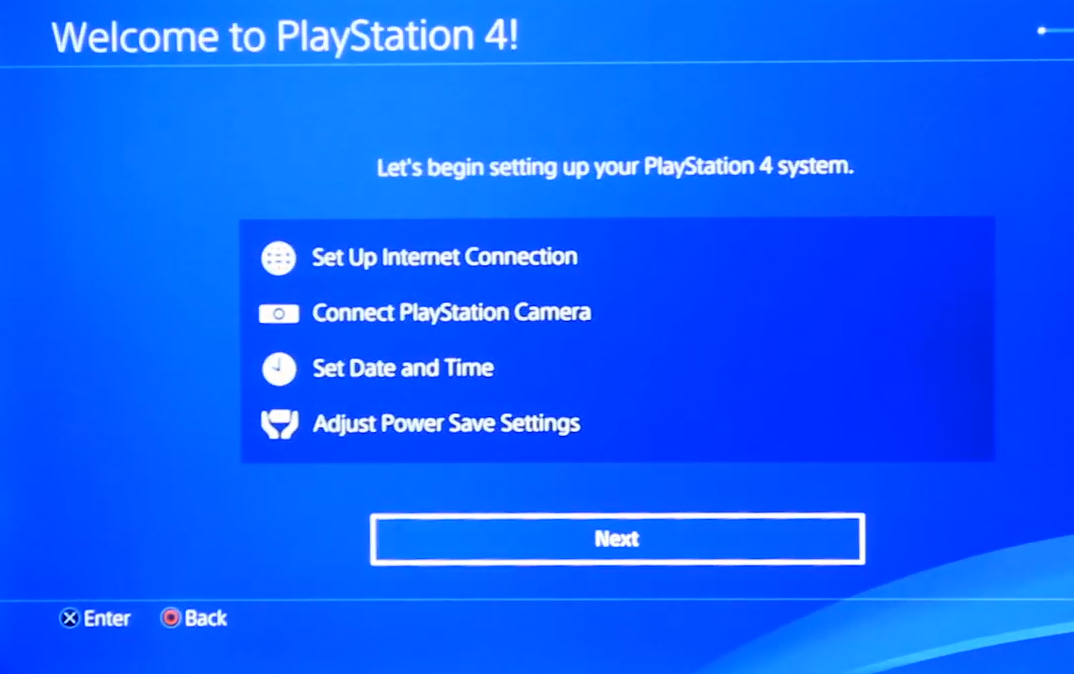
Step 10: Restore Backup Data
On the PS4, reapply your settings again.
The wi-fi information is saved so you can skip that.
Go to Settings/System.
Then Backup and Restore.
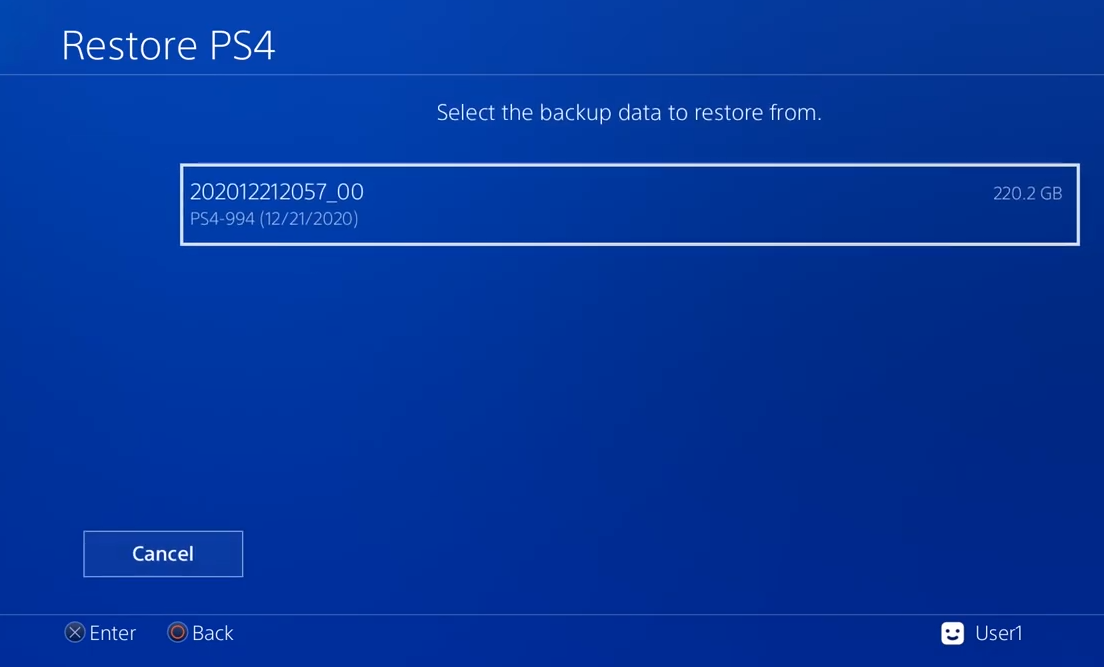
Press enter on our backup data.
Press Restore and then keep pressing Yes to all the messages.
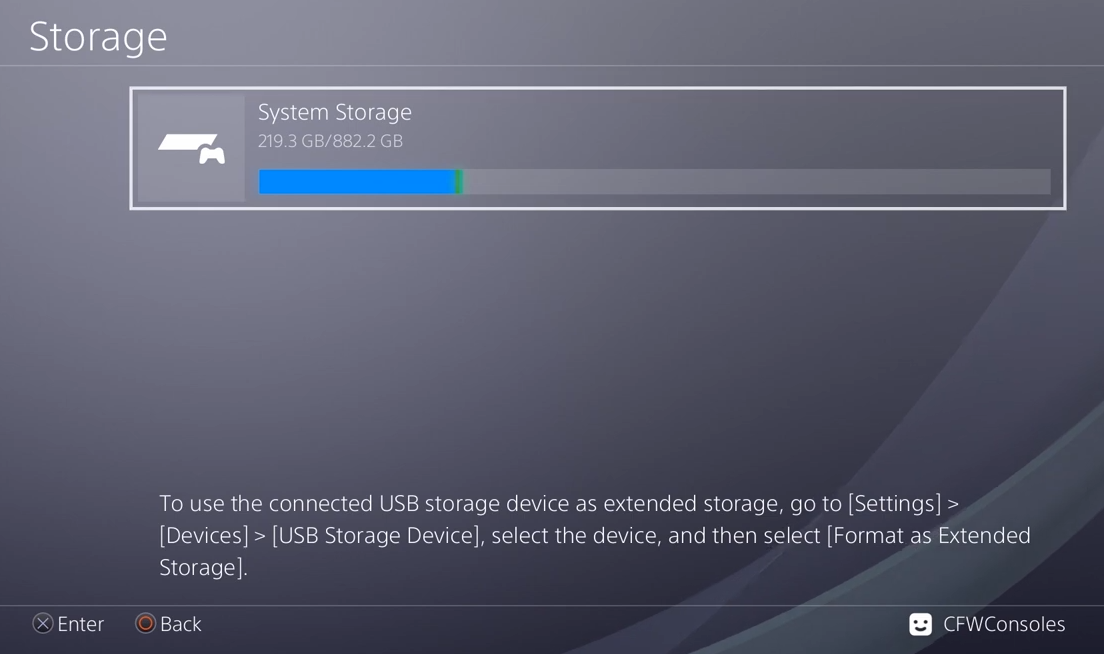
Step 11: Confirm Data was Restored.
After the PS4 reset, confirm all your data was restored.
Go to Settings / Storage to see if the file size matches.